One of the best ways I find inspiration for recipes is from other people. Learning from other people’s successes (and sometimes, mistakes) is a really great way to expand one’s food horizons. Trying out other people’s recipes helps you learn what you like, and what you don’t like. A lot of my recipes are based on recipes I’ve found on blogs, in cookbooks and on Pinterest. The inspiration for these recipes came from hours and hours of scrolling through Pinterest. I’m kind of ashamed to admit that I’m really into the whole Mason jar trend. Except for using them as beverage receptacles. Few things irk me more than people drinking out of Mason jars. JUST NO, OKAY?
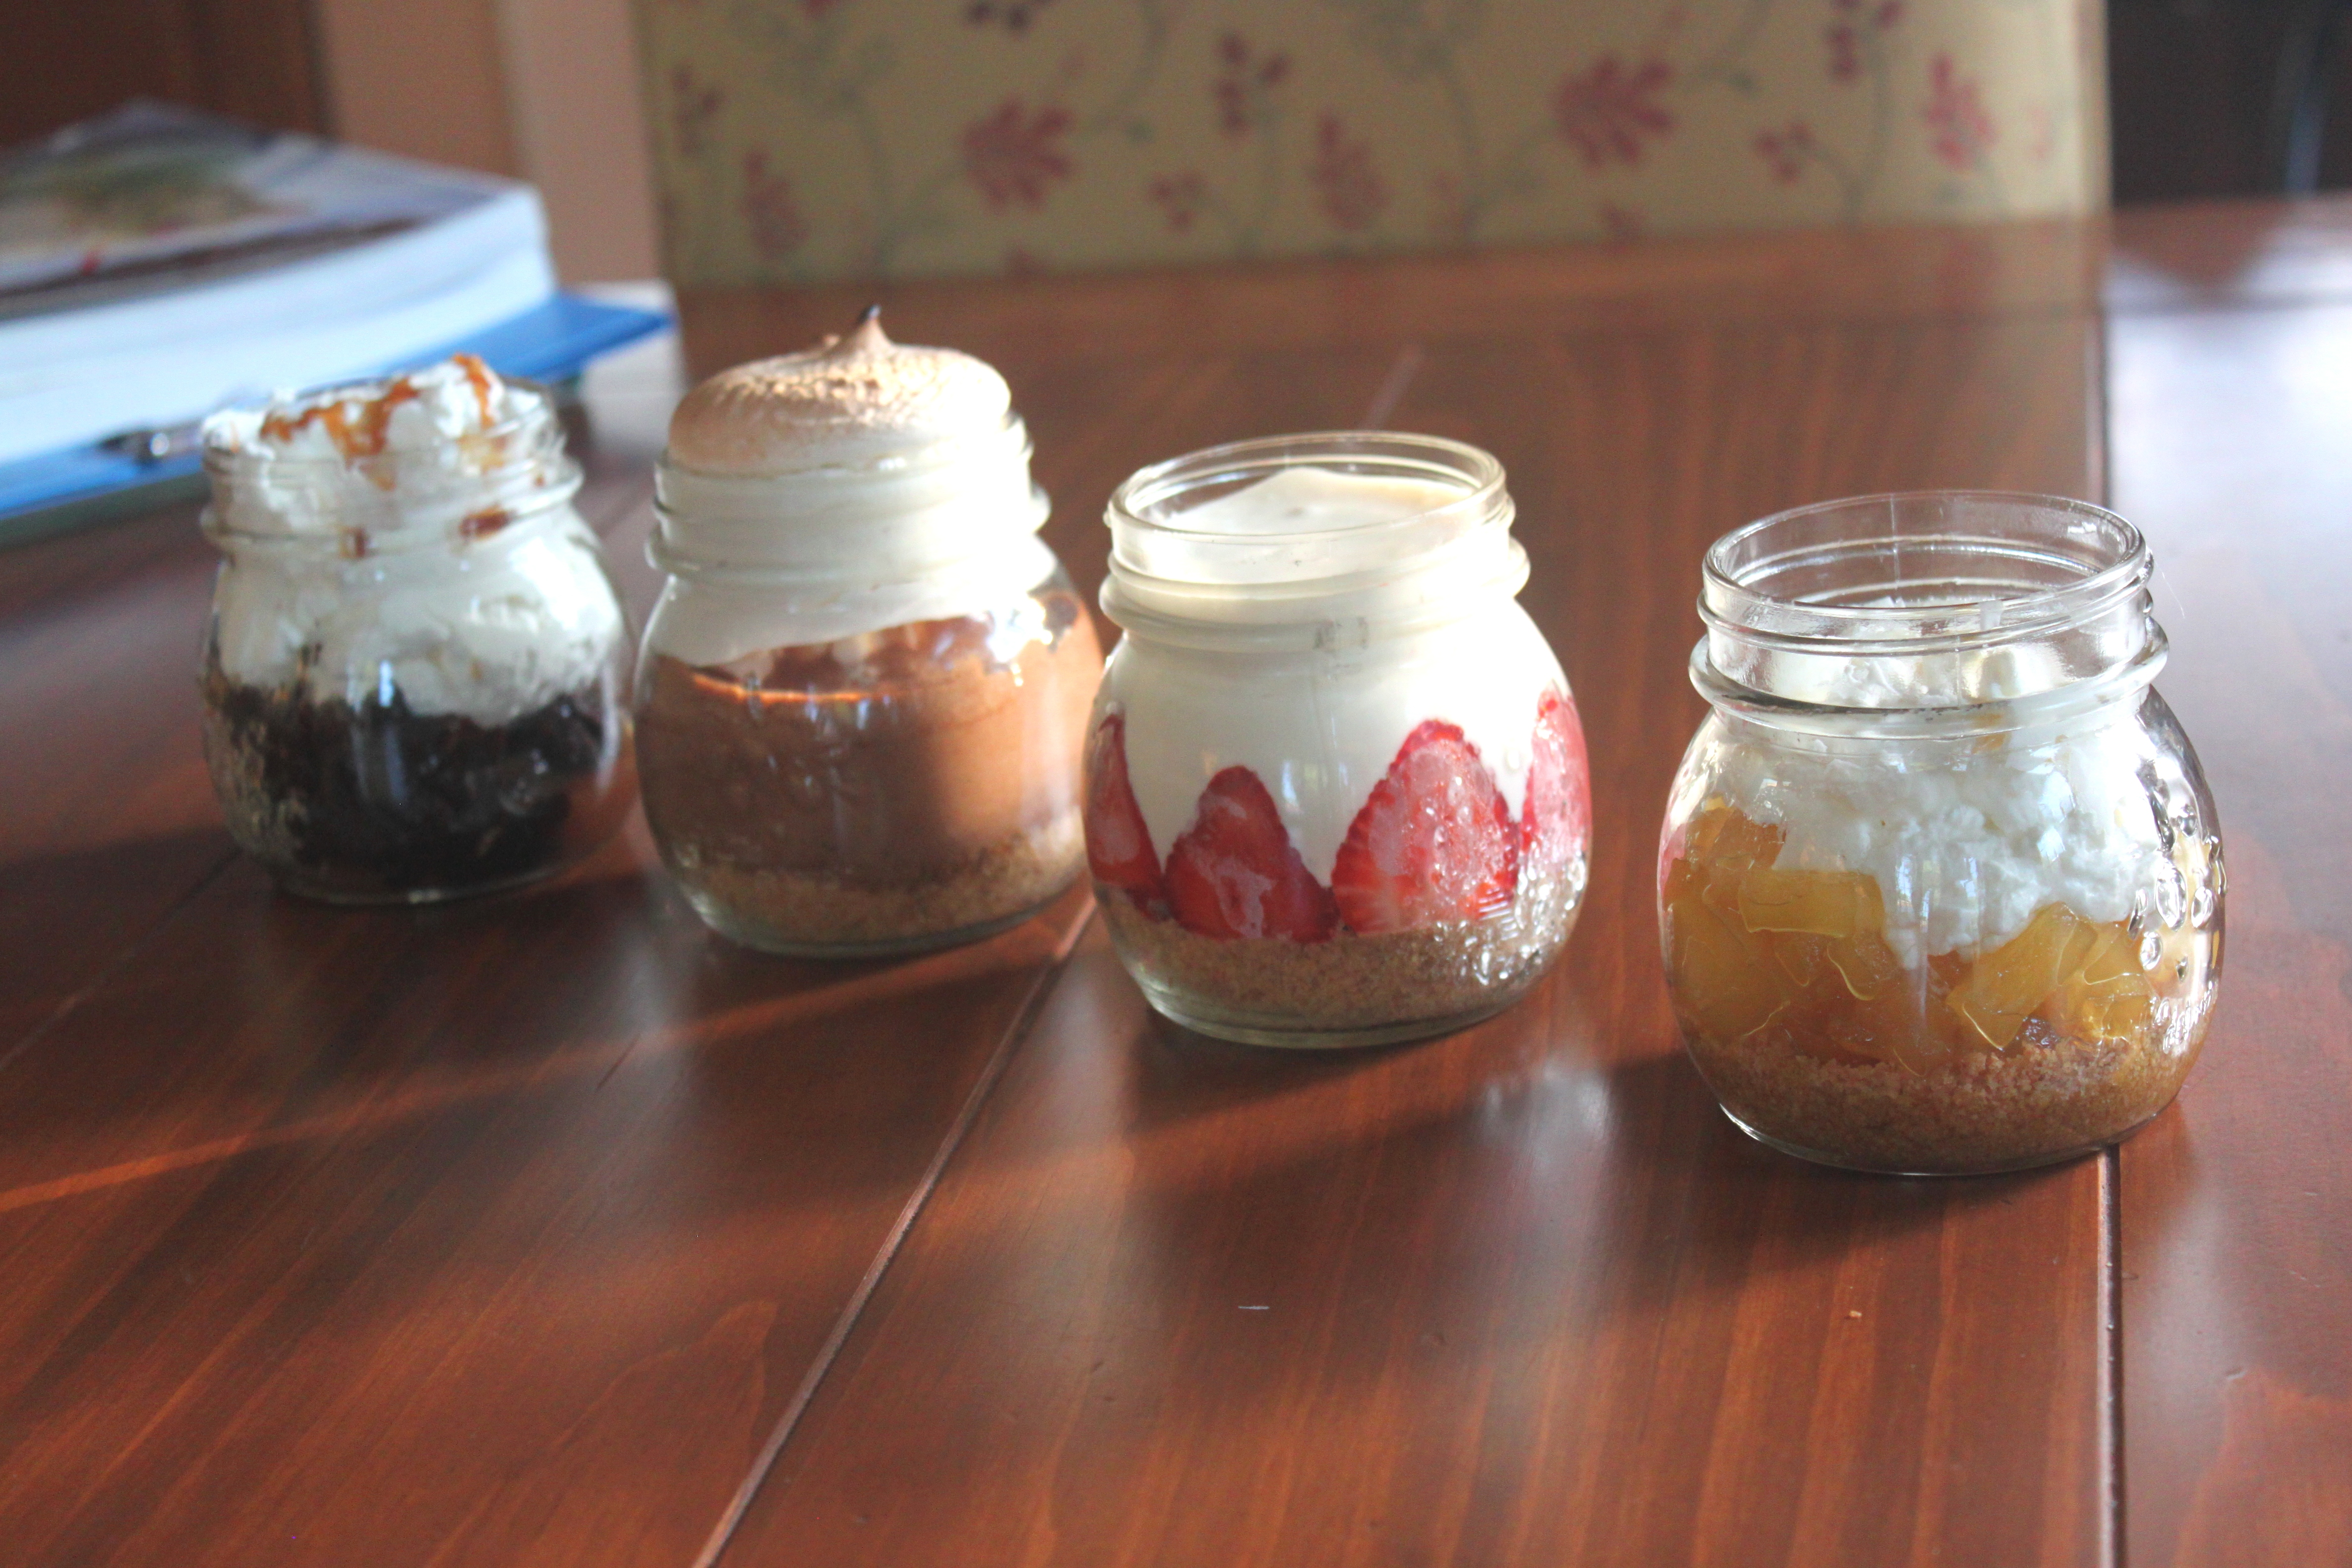
Mason jar desserts are a cute and fun way to create personalized, individual sweets for friends or family (or just yourself, obviously. No judgement here). I’ve decided to try not one, but four different ways to do jar desserts, two of which are vegan-friendly. So go ahead, kiddies, make some Pinterest-worthy desserts your friends will be Instagramming all day.
***
Pineapple and coconut is a classic combination, especially in desserts. This recipe uses my favourite cream substitute, coconut milk, to make a really delicious whipped cream. Angela Liddon over at Oh She Glows has some really helpful tips about how to make the perfect coconut whipped cream (some tips I had to learn the hard way – curse you, guar gum!).
Pineapple-Coconut (vegan)
Serves 2
- 398 ml can diced pineapple
- ½ cup + 3 tbsp granulated sugar
- ¾ cup coconut milk
- 1 tsp coconut extract
- ½ cup ground almonds
- 1 tsp vegan butter, melted
- Place pineapple and ½ cup of sugar in a small sauce pan on high. Bring to a boil, then lower to medium heat and let it simmer until thick, about 30 minutes. For a more grown up dessert, deglaze the compote with a shot of rum in the last few minutes of cooking. Remove from the heat and allow to completely cool.
- Mix the vegan butter with the ground almonds in small bowl until completely combined. Divide the mixture evenly amongst the two jars. Press the mixture firmly into the bottom of each jar. I used the end of a rolling pin, but any wide, flat surface will do.
- Add the coconut milk, remaining sugar and coconut extract into a medium bowl. With a whisk attachment, whip the milk till soft peaks form.
- Divide the pineapple compote between the two jars, top with the coconut whipped cream and enjoy!

***
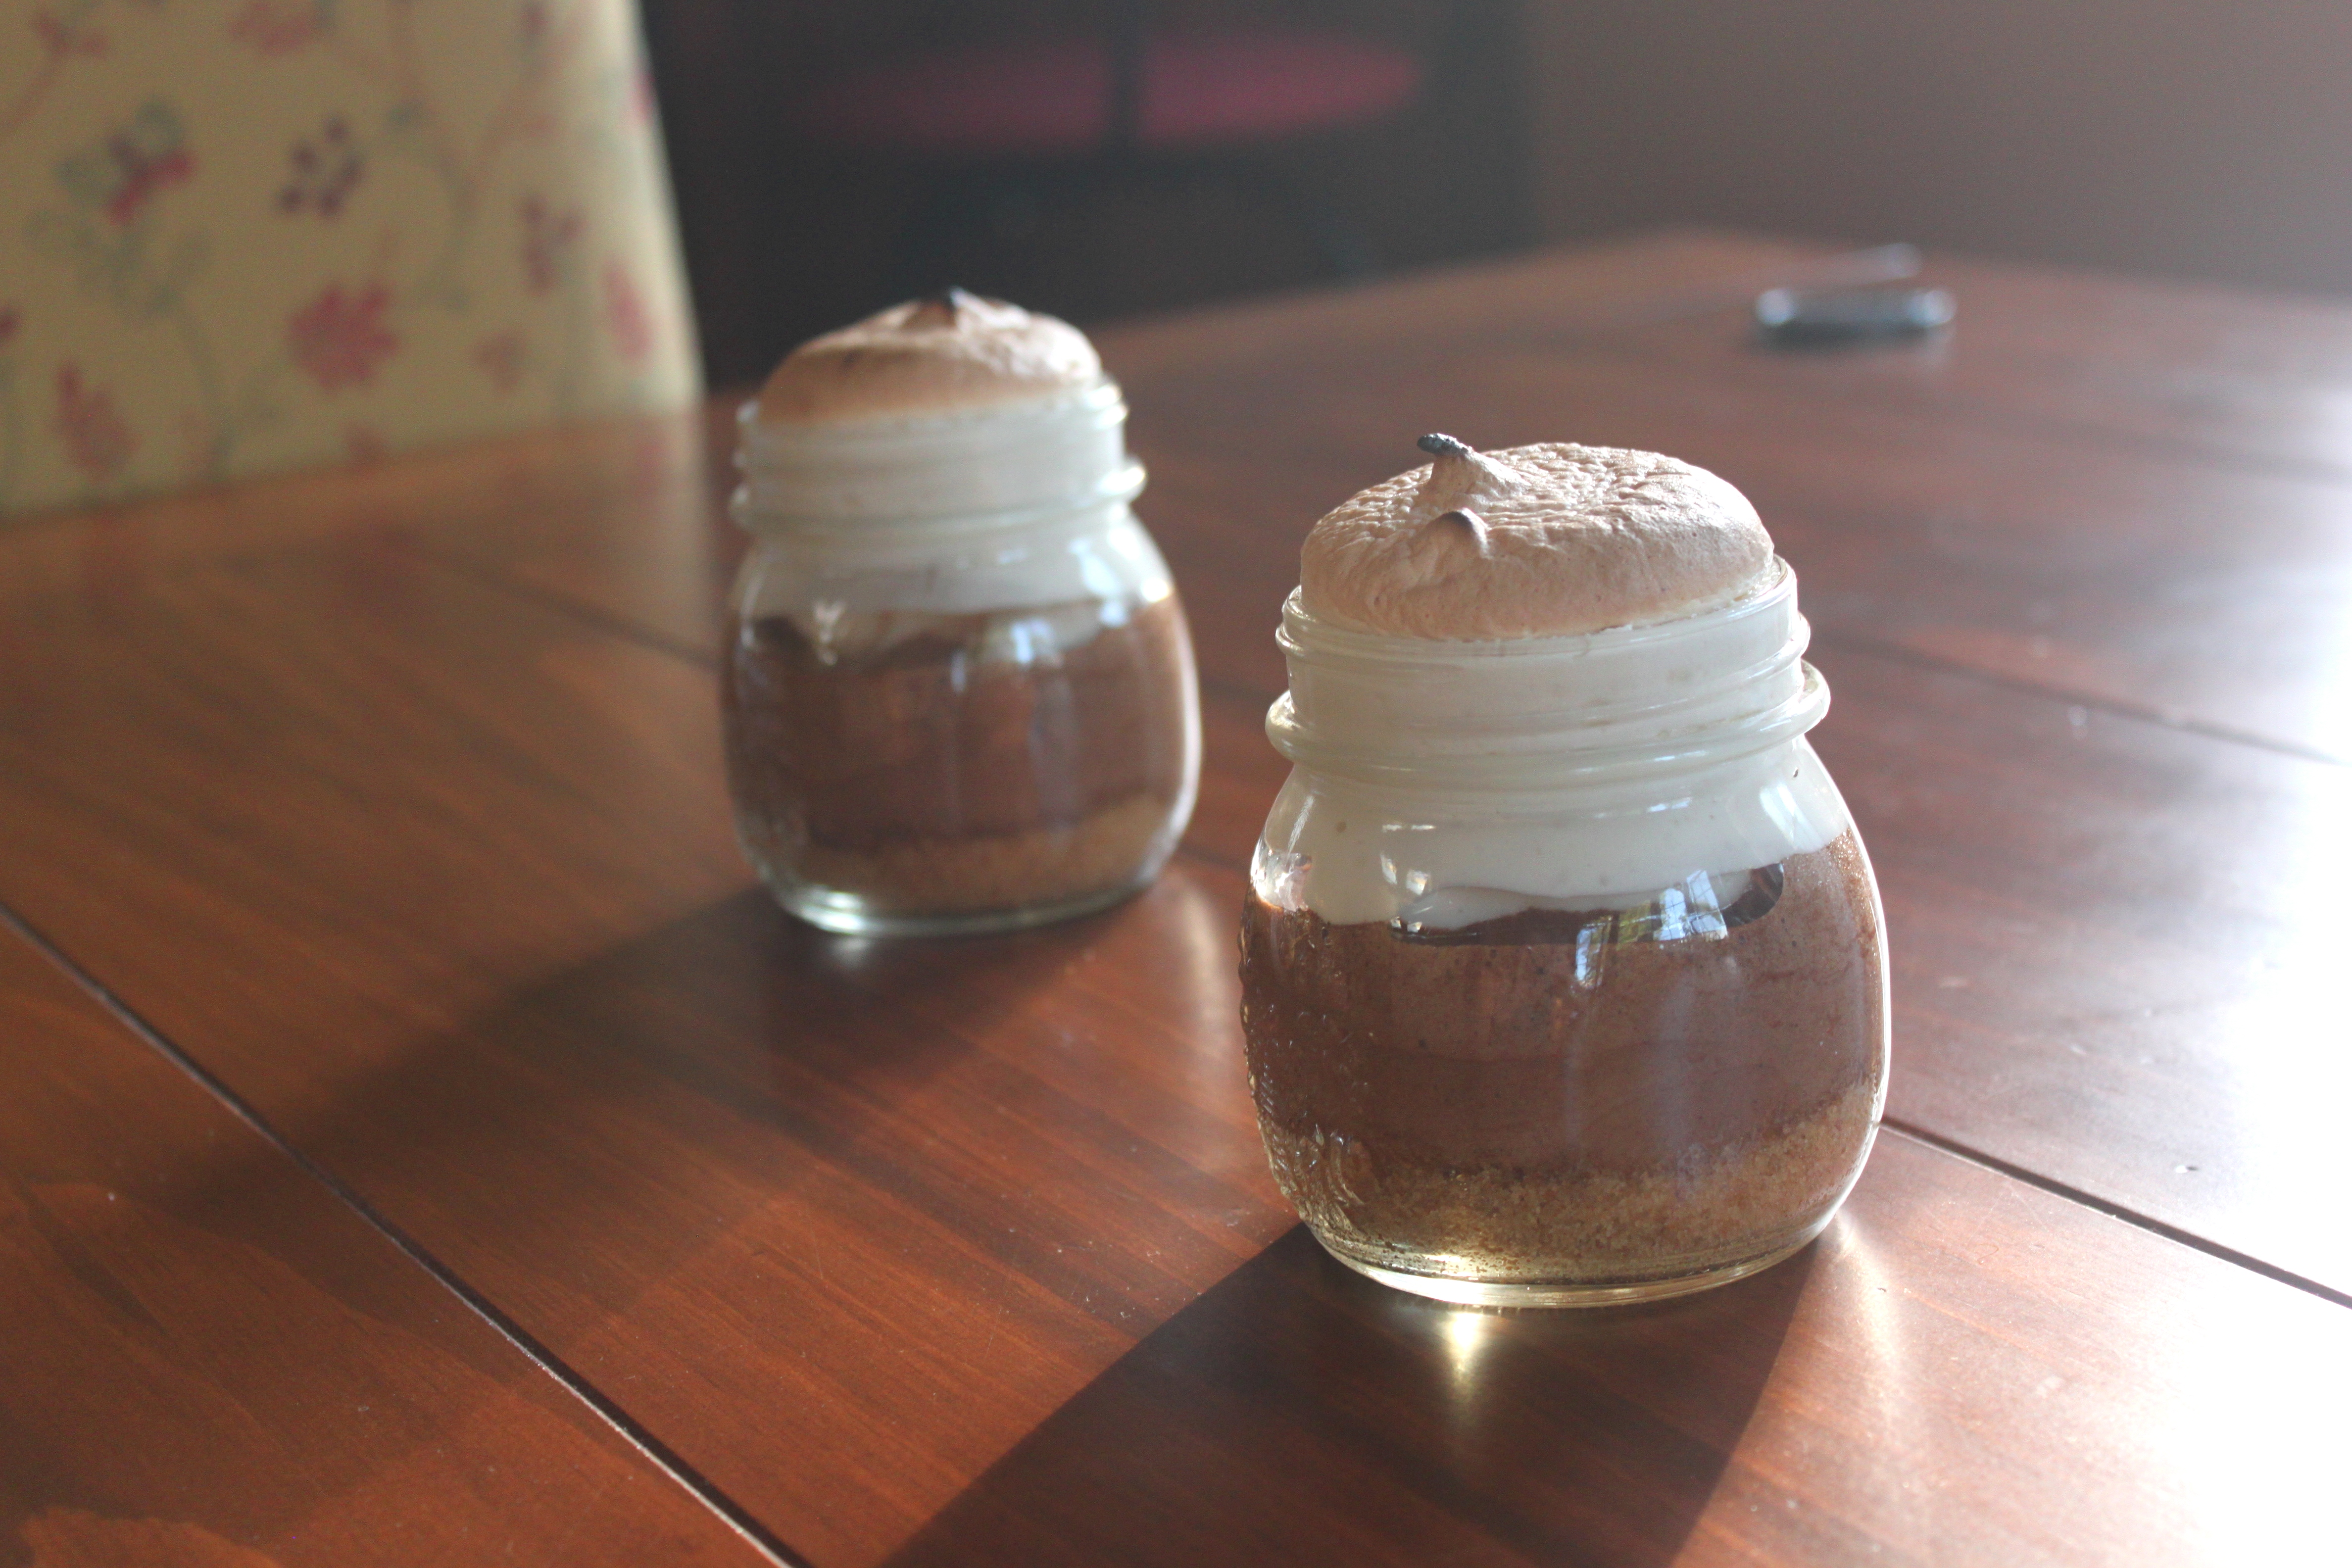
S’mores are another great summertime dessert, but often require silly things like a campfire and whatnot. I used a homemade mousse from the devilishly handsome Bobby Flay, and a marshmallow fluffy from Spend With Pennies. This recipe can be simplified with a store-bought chocolate mousse or pudding, and a handful of mini marshmallows.
S’mores
Serves 2
- Chocolate mousse (homemade or store bought)
- Marshmallows, or marshmallow fluff (homemade or store bought)
- ½ cup graham cracker crumbs
- 1 tsp butter
- Mix the butter and graham cracker crumbs in a small bowl until completely combined. Divide the mixture evenly amongst the two jars. Press the mixture firmly into the bottom of each jar. Pipe chocolate mousse into each jar, then top with marshmallow.
- With a butane torch, toast the top of the marshmallows until golden brown. If you don’t have a butane torch, you can put the jars under the broiler (450F) for a few minutes. I recently bought a butane torch, but did not realize that butane torches don’t actually come with butane, so I ended up using the broiler technique. While it will toast the marshmallow fluff, it does make the mousse collapse a little bit. If you want to invest in a butane torch, it will make the job a lot easier. If not, be sure to watch the jar the entire time it’s in the oven, to be sure it doesn’t burn/melt your mousse.
- Once it’s done, let it cool down for a couple minutes, until the jar is cool enough to handle. I popped it into the fridge for 30 minutes before eating it, but I’m sure it’s great still warm!
***
Nothing screams decadence to me like brownies and salted caramel. I found this amazing vegan brownie recipe on Pinterest courtesy of Crazy for Crust that uses zucchinis instead of eggs and milk, and its gooey texture works perfectly in this recipe. While you can just make a whole pan brownies and use as much as you’d like for the jars, I made the whole batch, but only used a small portion of it for this recipe, and saved the rest for another day. I simply lined two small ramekins (fun fact: ramekin is my current favourite word) with parchment paper, pressed a small ball of batter into each ramekin (RAM-ekin – man, I do love that word), then bake them both at 350F for 16-17 minutes. I also slightly modified the recipe by replacing the water with room temp coffee (it helps bring out the chocolate flavour), and stirred in ½ cup of vegan chocolate chips.
Brownies & Salted Caramel (vegan)
Serves 2
- Vegan brownies, cut into chunks
- 1 cup granulated sugar
- 1 cup coconut milk
- 1 tsp vanilla extract
- Big pinch of kosher salt
- Coconut whipped cream (see Pineapple-Coconut jar above, minus the coconut extract)
- Place sugar and 6 tablespoons of water in a small saucepan on high. Do not stir, or the sugar will crystallize, which will not allow it to form a caramel. Remove from the heat once the caramel is a deep amber color. Slowly stream in the coconut milk and vanilla extract while stirring vigorously. It’s going to be extremely hot, so be careful of any drops that might splatter up. Stir in salt. Set to the side and allow to completely cool.
- Place the brownie chunks into each jar. Drizzle with a generous amount of the cooled caramel. Sprinkle with a pinch of salt. Top with a dollop of coconut whipped cream and drizzle with some more caramel.

***
Strawberries. Cheesecake. Yeah, I feel like that’s pretty self-explanatory.
Strawberry Cheesecake
Serves 2
- 8 oz cream cheese, room temperature
- ¾ cup whipping cream
- 7 tbsp icing sugar
- 1 tsp vanilla extract
- Handful of strawberries, sliced
- ½ cup graham cracker crumbs
- 1 tsp butter, melted
- Combine vanilla extract and whipping cream in a bowl, and whisk until soft peaks form. Whisk the cream cheese and icing sugar until soft and fluffy. Buying whipped cream cheese will make for an even fluffier cheesecake filling. Fold in the whipped cream into the cream cheese mixture. Place in the fridge, covered, for about 30 minutes, or until set.
- Mix the butter and graham cracker crumbs in a small bowl until completely combined. Divide the mixture evenly amongst the two jars. Press the mixture firmly into the bottom of each jar. Place a small layer of sliced strawberries in the bottom of each jar. Pipe cheesecake filling on top of the strawberry layer, and enjoy!

